
Last updated November 16, 2026
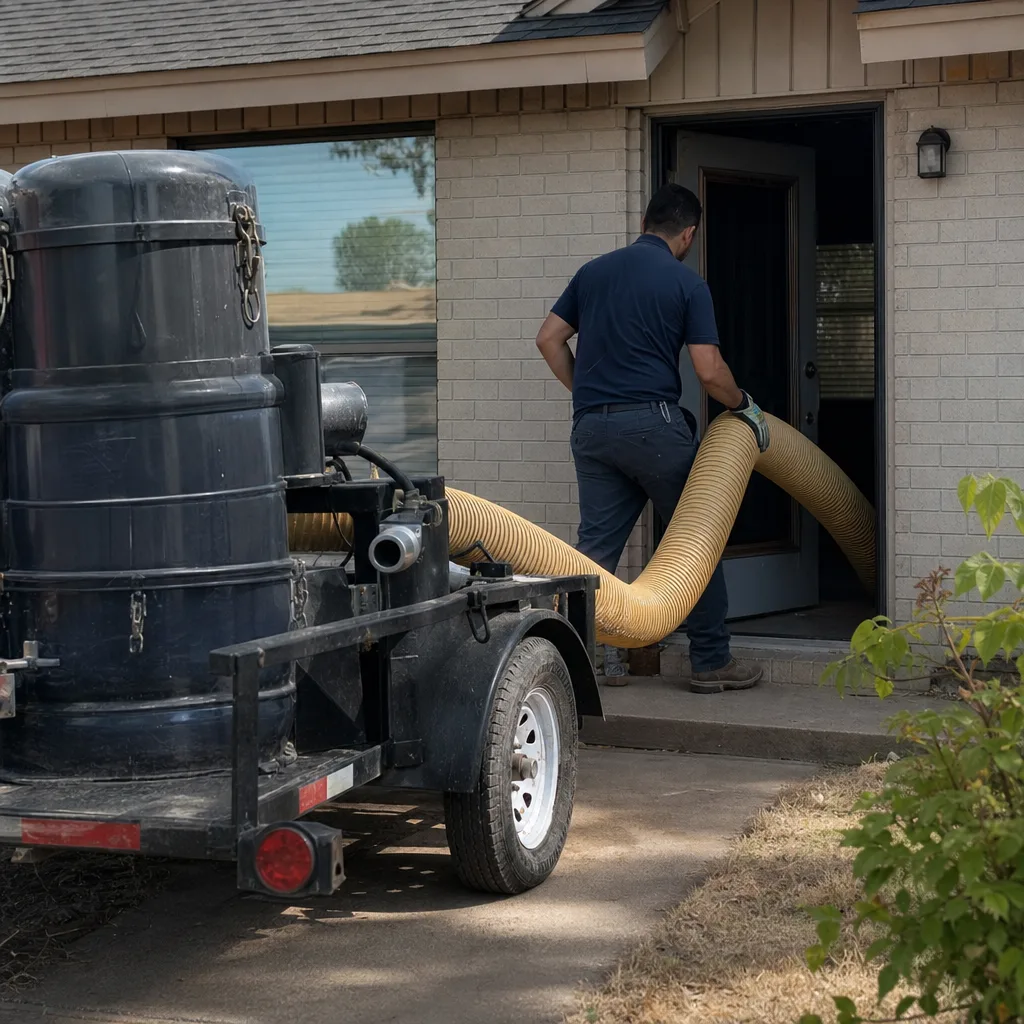
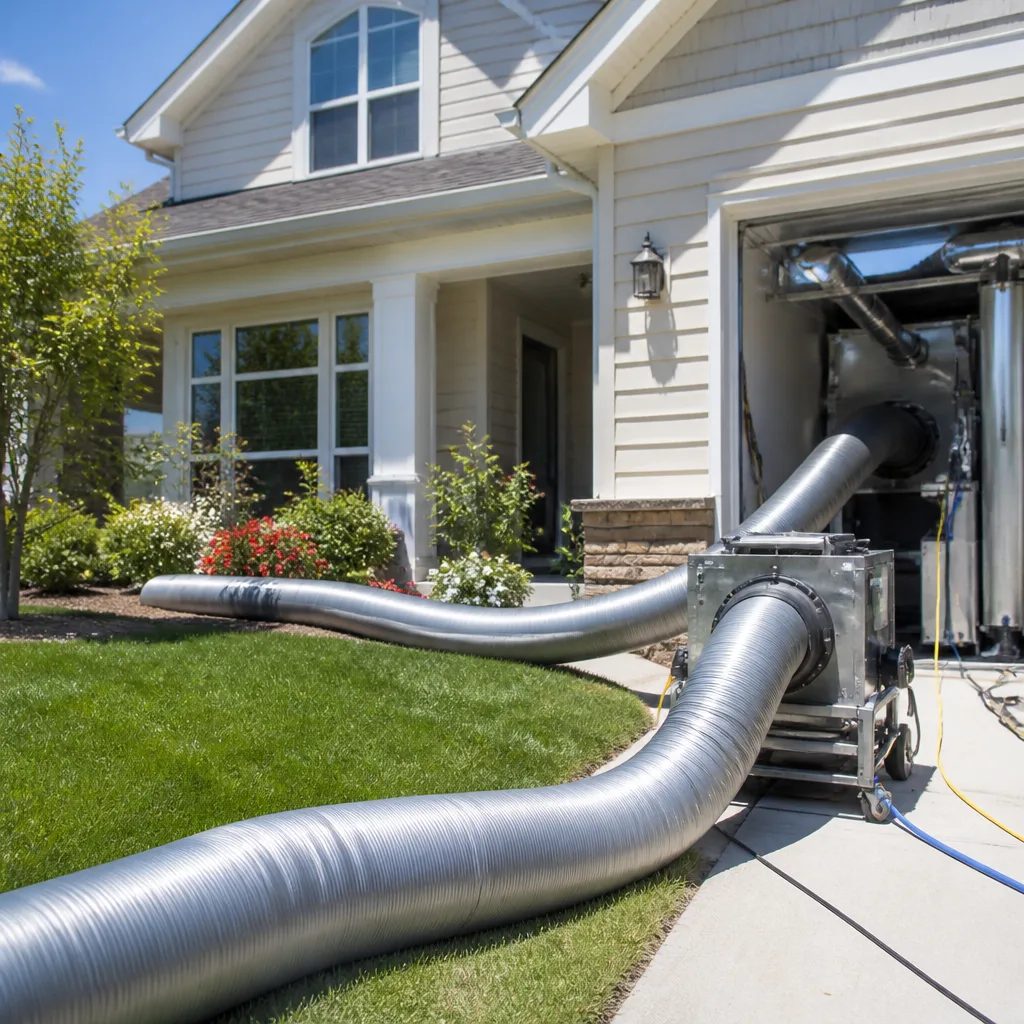 Whole-home duct cleaning
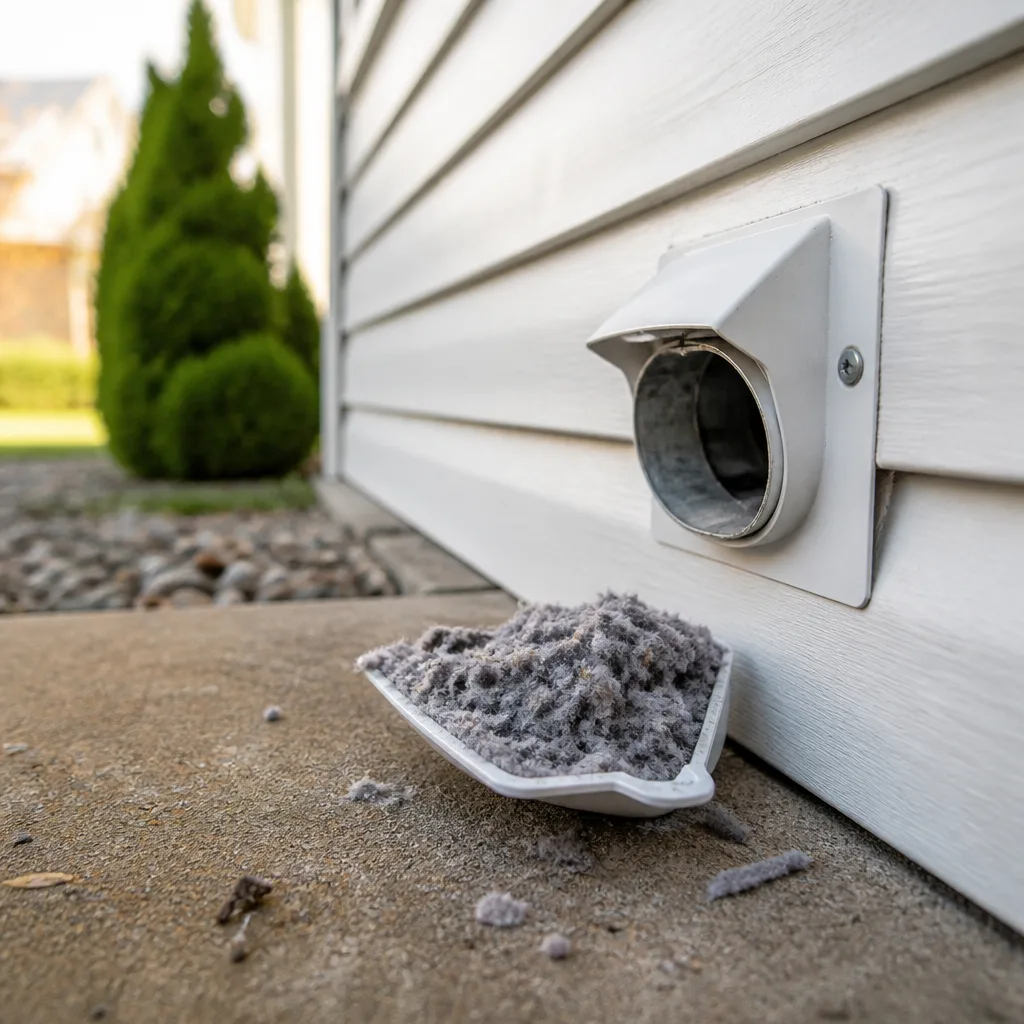 Dryer vent cleaning
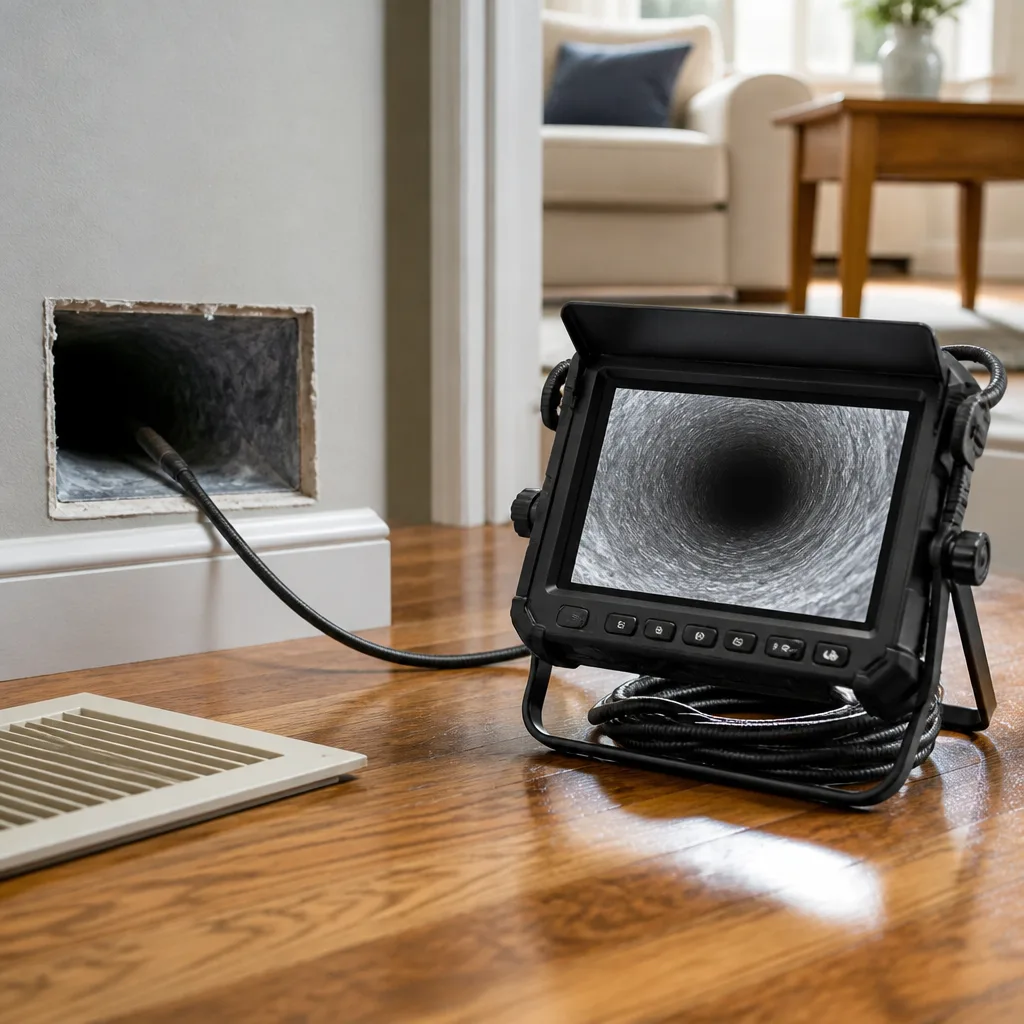 Camera inspection
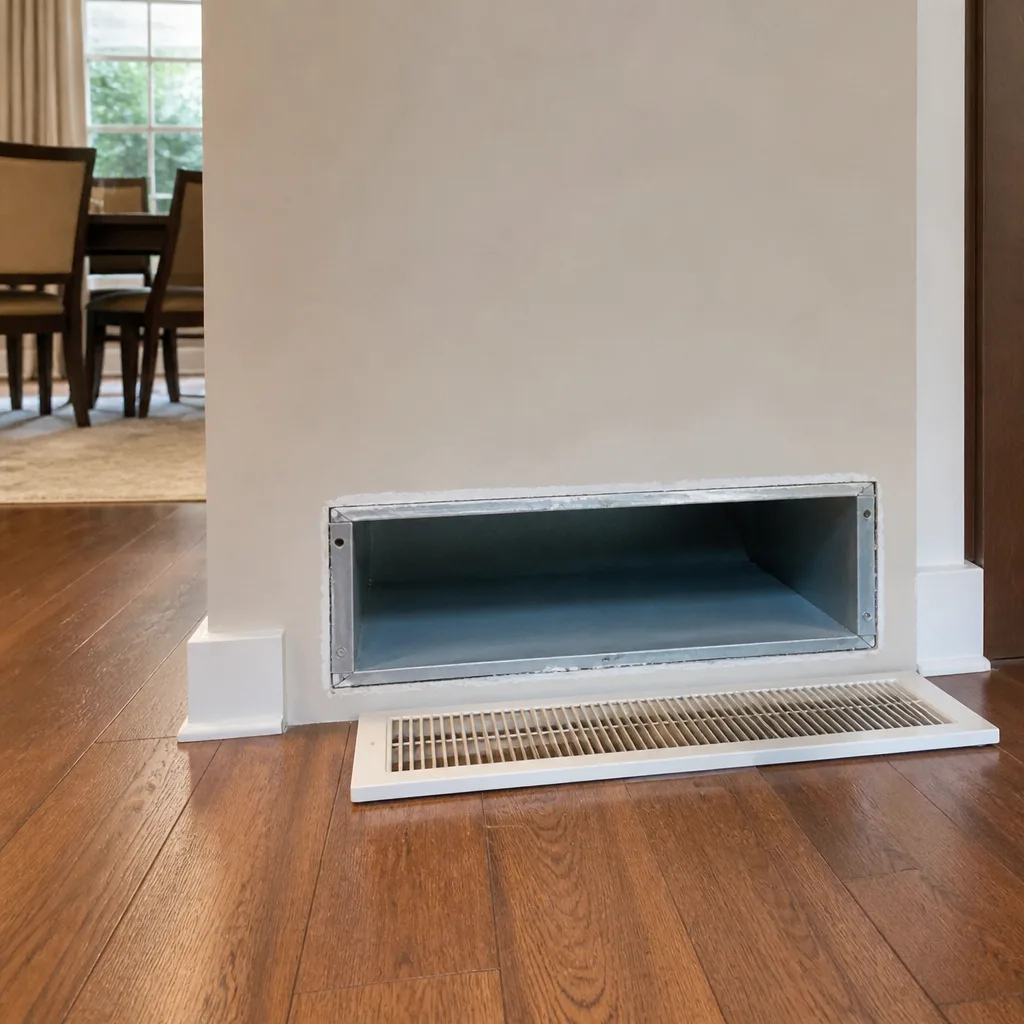 Sanitizing & deodorizing
Whole-system duct and dryer vent check with before-and-after photos - you see exactly what came out of your vents
That "$99 whole-house special" is a bait ad - the real number appears once they are in your hallway, or the "clean" is a shop-vac at the register. We photograph the inside of your ducts before and after instead.
Air Duct Repair Maintenance Schedule: What to Do and When
Most homeowners treat duct care like a yearly oil change – one box to tick, then forget it until something breaks. That advice was written for mild climates where flex duct sits in a conditioned or shaded attic and degrades slowly. Odessa isn’t that place. Attic temperatures push past 150°F in July, the ground bakes, and the same cooling season that keeps your house livable works hard on every seam, liner and joint in your duct system. The result is that a “hands-off for five years” schedule quietly misses the failures that actually cost money. This guide lays out a real maintenance calendar for Odessa – what to check each season, which tasks you own versus which need tools, and how to spot a duct repair before it turns into a bigger bill. You’ll also learn how to document your system so you can measure degradation year over year instead of guessing.
Quick Answer
In Odessa, plan on four touchpoints a year: a filter-and-register check in early spring before cooling season, a visual inspection of accessible duct runs and joints after the first heavy cooling month, a pre-heating-season check in October, and a cleaning assessment every two to three years – sooner if you’ve had a renovation, a dust storm event, or a dryer that’s taking longer than it used to. Duct repair tasks (re-taping failed joints, replacing crushed flex runs, re-sealing access panels) get handled during those checkpoints rather than on a fixed calendar, because they depend on what the inspection shows. A full professional cleaning tied to that cycle keeps the whole system honest.
Styles & brands we work with
- Whole-home duct cleaning
- Dryer vent cleaning
- Camera inspection
- Sanitizing & deodorizing
Table of Contents
- Why a Fixed Annual Schedule Doesn’t Fit Odessa
- The Month-by-Month Calendar for West Texas
- Tasks You Own vs. Tasks That Need Tools
- Dryer Vent Health Runs on the Same Timeline
- Signs Your Last “Maintenance” Was Surface-Level
- How to Document Your System Baseline
- Common Mistakes to Avoid
- When to Call a Professional
Why a Fixed Annual Schedule Doesn’t Fit Odessa
The “inspect every three to five years” guidance you’ll find on most HVAC sites assumes moderate temperatures and attic conditions that don’t spike past 130°F. Odessa has neither. A home here can see weeks of 100°F-plus summer highs, and the attic above your ceiling can run 20 to 30 degrees hotter than the outdoor air. Flexible duct liner – the insulation bonded to the inside of the duct – doesn’t like that. It can start to break down faster than in a mild climate, and when it does, the loose fibers travel straight into your living space every time the system runs.
That’s why we treat duct maintenance less like a yearly event and more like a set of small checkpoints tied to the two seasonal transitions: when the system flips from heating to cooling (typically March to April in Odessa), and when it flips back (October). Each transition is the natural moment to look at the system because that’s when you’ll notice the first real symptoms – weak airflow in one room, a dusty register, a rattle in the attic – before they compound into a repair.
There’s a second local factor: dust events. West Texas gets blowing dust that finds its way into return plenums, filter slots and any open joint. After a significant dust event, your filter loads faster and any compromised seal lets grit into the supply side. If you’re not checking at those moments, you’re just waiting for the system to tell you.
What “maintenance” actually means for a duct system
It’s not a single service. It breaks down into three separate loads: cleaning (removing accumulated debris from the duct interior), inspection (finding joint failures, crushed runs, liner damage, moisture), and repair (fixing the failures you find). Cleaning without inspection is incomplete. Inspection without repair is just a report. The best services do all three in one visit, which is why companies like Duct Cleaning Odessa offer cleaning and repair as a combined capability rather than two separate phone calls weeks apart.
The Month-by-Month Calendar for West Texas
This is the calendar we recommend to Odessa homeowners and property managers. You don’t have to hit every item on the exact date – the point is to tie the checks to the seasonal shift so they happen when they matter.
March: pre-cooling-season check
- Replace the HVAC filter (this is the highest-value single item on the list).
- Walk to every supply register and confirm airflow feels consistent; note any room that feels weak.
- Open accessible access panels (if your install has them) and look for torn liner, disconnected joints, or visible dust buildup.
- Clear any register blocked by furniture, rugs or stored boxes.
- Note the date and filter model – this is your baseline entry.
April-May (first cooling month)
- After about four weeks of running the AC, re-check airflow. If a room got noticeably weaker, suspect a duct issue.
- Look at grille faces for fine dust streaks – a sign the supply side is dirty or a joint is leaking.
- Schedule a professional inspection if you’ve never had one on this system, or if it’s been more than three years.
July-August (peak load)
- Check the filter again – the summer dust load can double the change frequency.
- Listen for whistling or rattling at registers; that’s often a loose joint or a collapsed flex run.
- Check the return air grille for lint or pet hair matting.
October: pre-heating-season check
- Replace the filter before the first heat call.
- Re-walk the registers; the heating cycle uses the same ducts, so weak airflow in cool mode is weak airflow in heat mode too.
- Have any deferred repair done now – duct failures don’t improve when the system switches modes.
After a dust storm
- Replace the filter immediately.
- Check any accessible supply joints for visible grit accumulation.
- If the house feels dustier than usual for more than a few days, it’s worth a professional check.
Every 2-3 years
- Full system cleaning with HEPA-rated extraction.
- Inspection of the entire duct run, including supply trunk, branch runs, returns and plenum.
- Dryer vent check in the same visit (see below).
Tasks You Own vs. Tasks That Need Tools
There’s a real dividing line between what a homeowner should do and what needs a professional with the right equipment. Crossing that line isn’t about skill – it’s about safety and whether the task can actually be done without damaging the system.
Tasks you own
- Replacing filters on schedule (the most important recurring item, period).
- Clearing obstructions from supply and return registers.
- Visual checks through accessible panels – looking, not touching.
- Logging observations in a simple notebook or spreadsheet.
- Resetting the thermostat and confirming seasonal mode change.
Tasks that need tools
- Pressure testing / airflow measurement. A technician uses a manometer to measure static pressure across the system and identify where leaks and restrictions are. You can’t eyeball this.
- Joint re-sealing. Proper duct sealing (mastic or approved foil tape on cleaned surfaces) requires cleaning the joint first, applying the right material, and confirming it holds under pressure. Tape over a dirty joint fails in weeks.
- Flexible liner replacement. Torn or degraded liner has to be removed and replaced, not patched. That’s a duct repair, not a maintenance check.
- Full interior cleaning. Consumer vacuums can’t pull the fine dust and fiber that clings to duct walls. Professional systems use rotary brush agitation plus HEPA extraction so the debris actually leaves the system instead of getting stirred up. Our equipment includes Rotobrush rotary brush systems and Nikro HEPA-rated vacuums, which are purpose-built for this, not adapted shop vacs.
Where containment matters – for example when a system has visible biological growth, or when you’re working in a space that needs controlled dust – the right equipment tier makes a difference. Abatement Technologies equipment, which we keep on hand, is the kind of gear used in indoor air quality remediation rather than standard cleaning. This is where the difference between a coupon-crew “blow and go” and a real cleaning shows up.
Dryer Vent Health Runs on the Same Timeline
Dryer vents and duct systems age on similar clocks: both accumulate lint or dust, both depend on unobstructed airflow, and both fail silently. A slow-clothes dryer is the equivalent of a weak register – a symptom you notice, not a diagnosis. What makes dryer vents different is the consequence. Lint accumulation in a dryer vent is a leading cause of residential house fires, and the fix is straightforward. That’s why dryer vent cleaning belongs on the same maintenance calendar as your ducts, not on a separate “someday” list.
How often to check
- Clean the lint trap every load (that’s a homeowner task, always).
- Inspect the exterior vent flap and the visible run of the duct at least twice a year. If you can’t see the whole run, that’s a professional check.
- Full professional dryer vent cleaning every 1 to 2 years, more often if you have a large household, lots of laundry, or a vent run longer than the typical straight shot.
Signs a dryer vent needs attention
- Clothes come out damp after a normal cycle.
- The dryer itself feels hot to the touch on the top or sides.
- The exterior vent flap doesn’t open fully or has visible lint around it.
- You smell a faint burnt or “hot dust” odor near the dryer.
If any of those show up, don’t just clean the trap and move on. The problem is downstream, and it’s exactly the kind of thing that gets resolved during a routine visit when the technician is already working on your duct system. Getting both evaluated together is cheaper and more thorough than treating them as unrelated.
Signs Your Last “Maintenance” Was Surface-Level
The frustrating part of the duct service industry is that a bad job and a good job can look identical when the technician pulls out of the driveway. Clean grilles don’t tell you anything about the interior of the system. Here’s how to tell.
Red flags
- Clean registers, but dusty duct walls. If you can look through an access panel and see the duct walls still coated in dust, the interior wasn’t actually cleaned – only the grille faces were wiped.
- Freshly taped joints that weren’t cleaned first. Look at any tape on a duct joint. If it’s lifting or peeling at the edges, the joint wasn’t cleaned before taping. Old tape that was left in place under new tape is another sign of quick work.
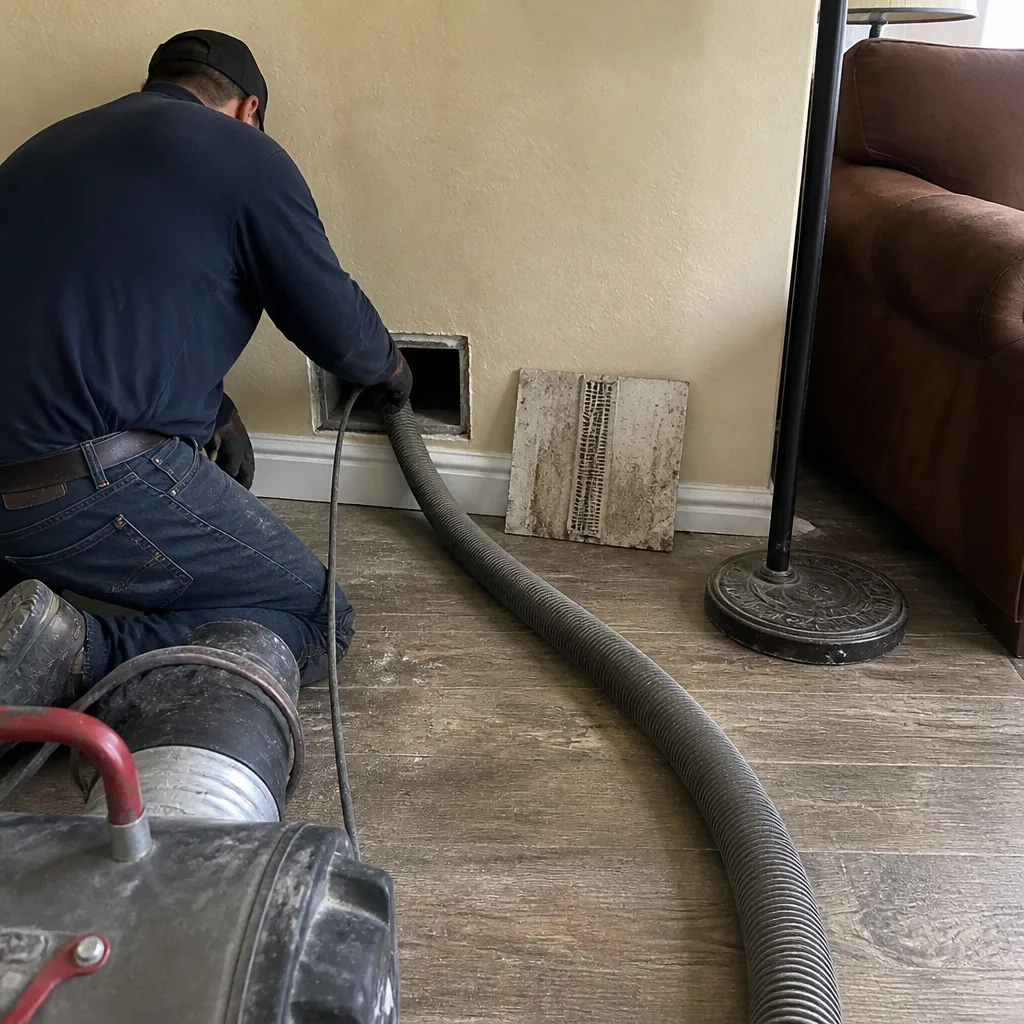
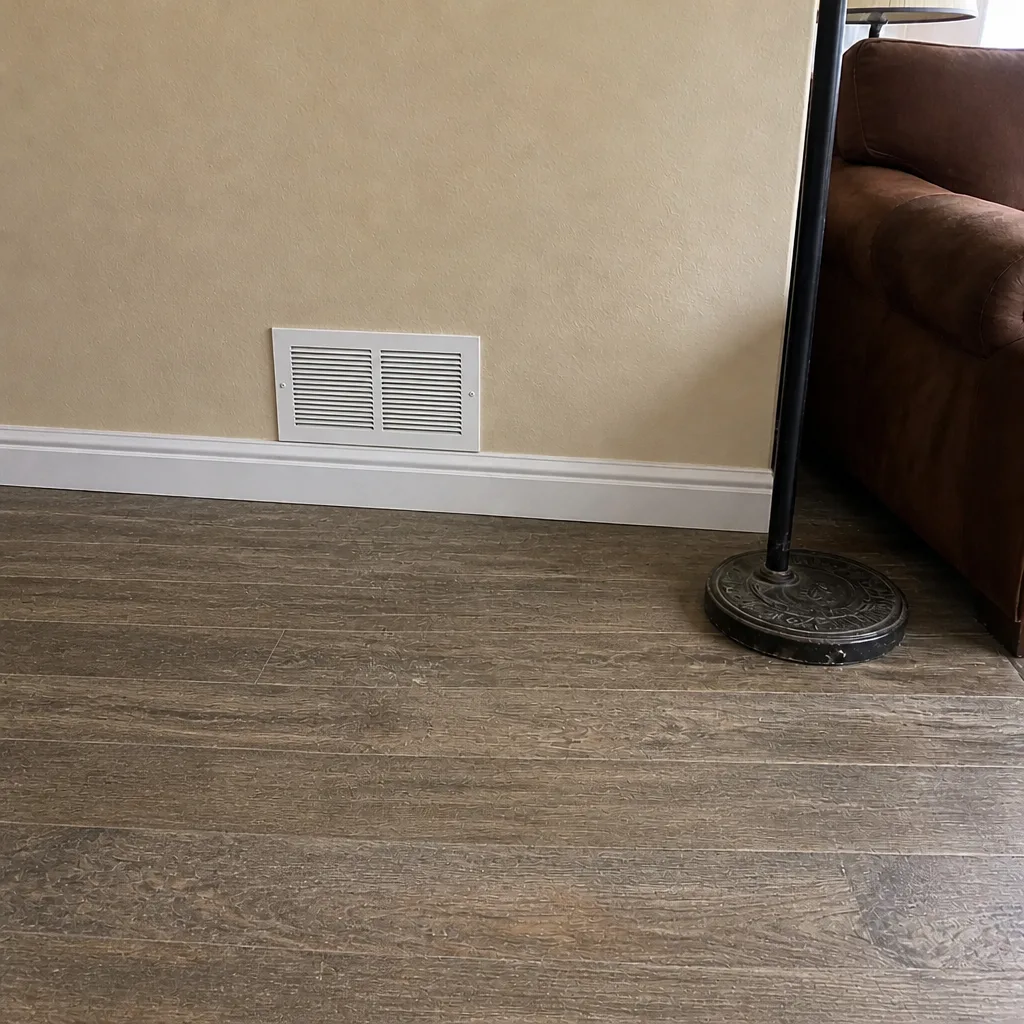
- No before-and-after photos. A legitimate cleaning should include photos of the interior before and after. If all you got was a verbal “looks great,” ask for the documentation next time.
- No written findings. Even if the system is fine, an inspection should produce a short written summary of what was found – joint condition, liner condition, airflow observations, anything that needs repair. “All good” is not a report.
- Liner fibers left in the register boots. A quick rotary pass that misses the boots leaves loose liner material. Check the floor registers after a cleaning; a small amount of surface dust is normal, loose fiber is not.
- No dryer vent check. A cleaning that skips the dryer vent is a partial job. The two systems should be evaluated together.
The best protection against a surface-level service is to ask for before-and-after photos before the job starts, and to require a written summary of findings at the end. Any company that hesitates on either is telling you something.
How to Document Your System Baseline
You can’t measure degradation if you don’t know where you started. A simple one-page baseline is the single most useful thing you can create for your duct system – and almost nobody does it. Here’s how.
What to record on day one
- Filter size and model. Note it (it’s printed on the filter frame) and photograph the label. This makes future filter swaps trivial.
- Filter change dates. Start a simple log. Date, filter model, and a one-word condition note (“light dust,” “moderate,” “heavy”).
- Airflow observations per room. For each room, note on a scale of your choosing (strong / medium / weak) how the supply register feels. Include any room that’s already noticeably weaker.
- Register condition notes. Photograph every register face. Look for dust streaks, discoloration or lint buildup.
- Accessible panel photo set. Photograph the interior of any accessible duct run and the return plenum. This is your “before” – the reference point for next year.
- Dryer vent observations. Note the exterior vent flap condition and time it takes to dry a typical load.
- Professional inspection report date. If you’ve had one, keep the report with the log. If not, that’s the first item on your schedule.
How to use it
Once a year at the spring check, compare current notes against the baseline. A room that moves from “strong” to “medium” is your signal to have the system inspected. A register that shows dust streaks it didn’t show last year is a sign of a developing leak. Documenting this way turns duct maintenance from a guessing game into something you can actually track – and when you talk to a technician, you can tell them exactly what changed and when. That saves time and money on the inspection itself.
What the Professional Cleaning Visit Actually Involves
If you’ve never had a proper duct cleaning, it’s worth knowing what one looks like so you can spot a good one. A professional cleaning starts with an inspection – not a vacuum hookup. The technician should walk the accessible system, note joint conditions, confirm the type of liner and any visible damage, and check the dryer vent before starting.
The steps, in order
- Inspection and documentation. Photos of the interior are taken before any cleaning begins.
- Containment. Supply and return openings are covered so debris doesn’t blow into the living space.
- Mechanical agitation. A rotary brush system (we use Rotobrush) reaches and loosens debris on duct walls throughout the run, including branch runs that a simple vacuum can’t reach.
- HEPA extraction. A Nikro HEPA-rated vacuum pulls the loosened debris out and contains it. The debris leaves the system; it doesn’t just get redistributed.
- Joint and access panel check. Any failed joints, torn liner or loose connections found during cleaning are documented and repaired – either during the same visit or on a follow-up, depending on scope.
- Post-cleaning photos. After photos are taken of the same interior locations documented at the start.
- Written findings. You get the findings in writing, plus the photo set.
That sequence is what separates a real cleaning from a surface job. If a company skips the inspection, skips the containment, or skips the post-cleaning photos, the service isn’t complete – regardless of how many “vents” they claim to clean.
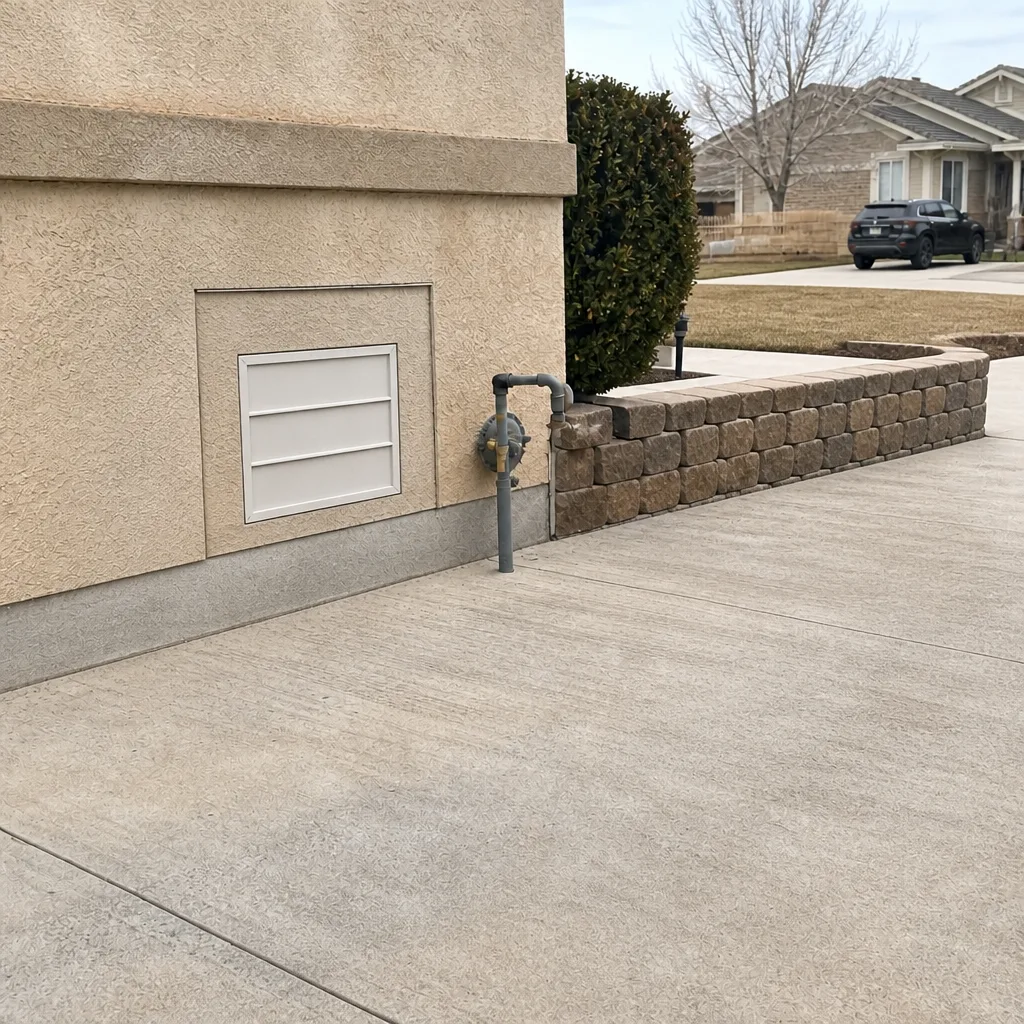
See the difference
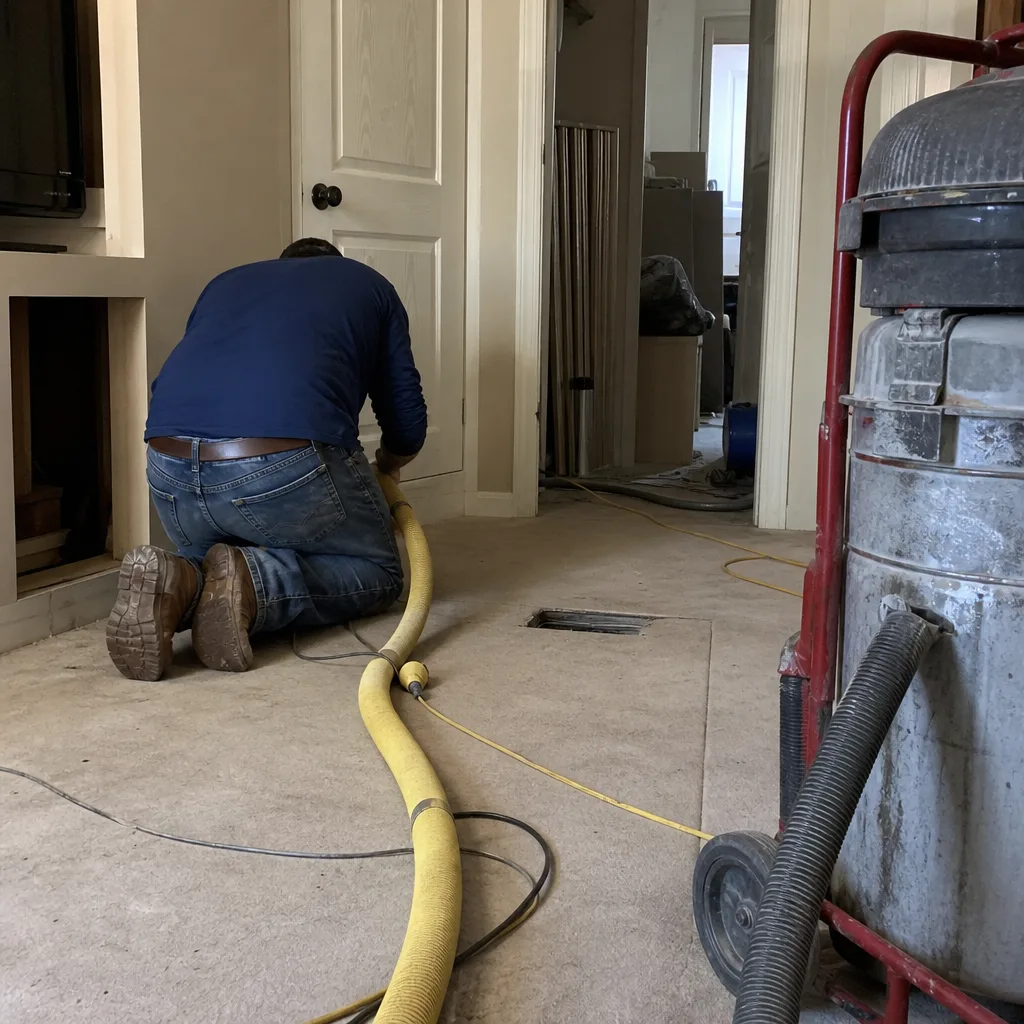 Before
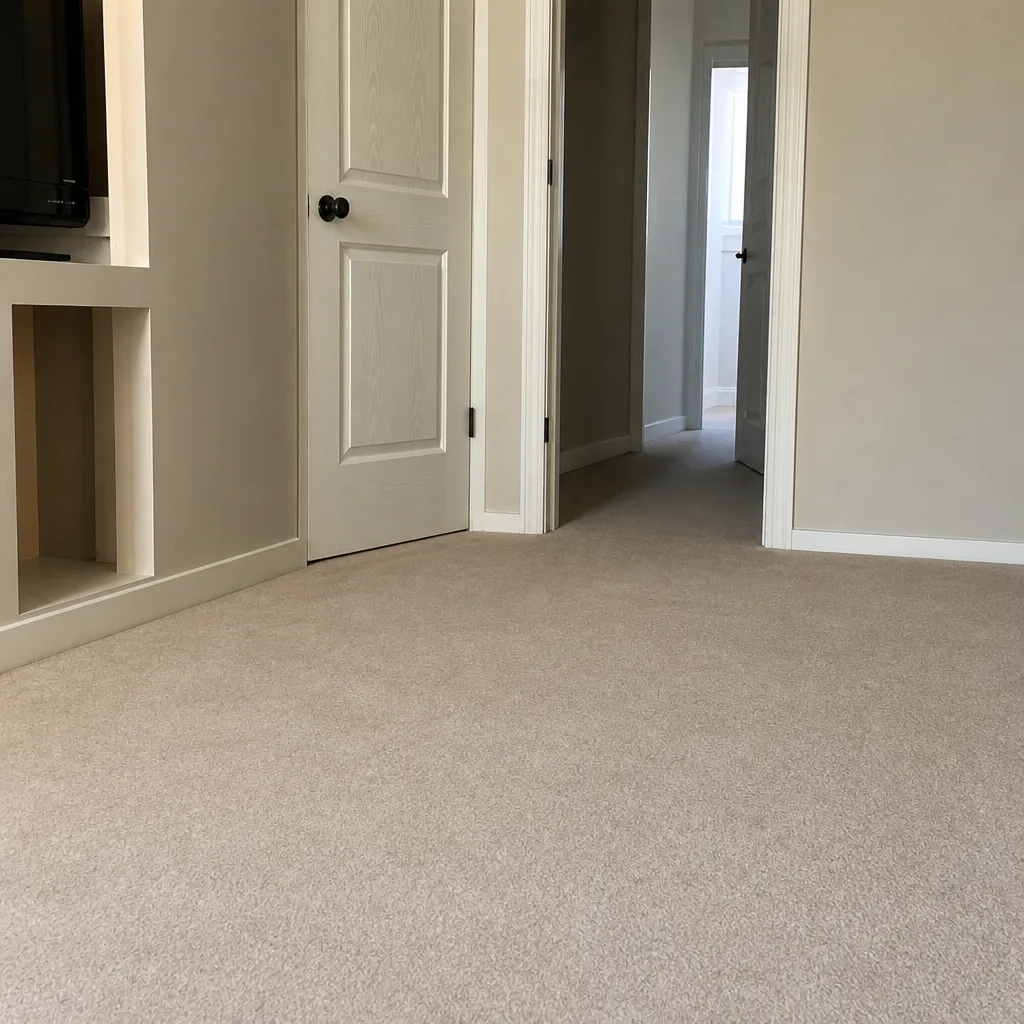 After
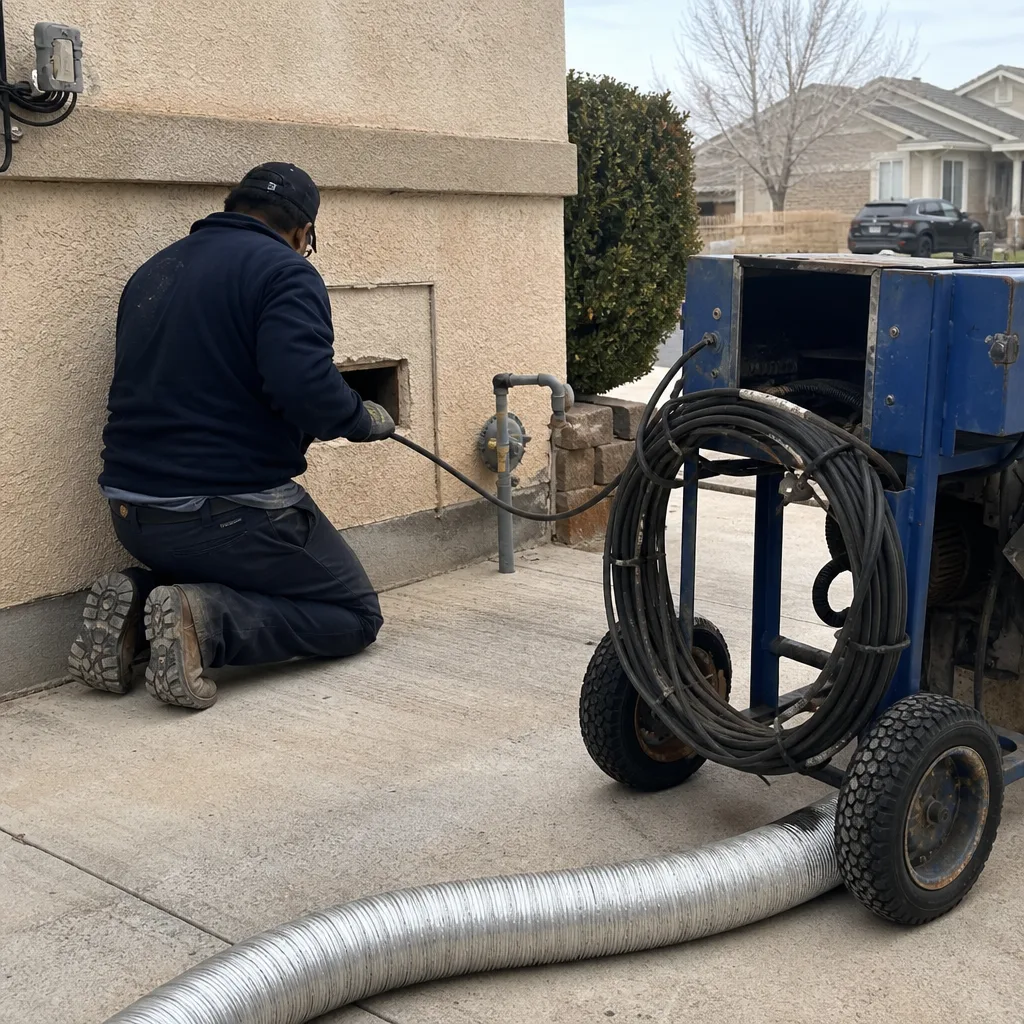 Before
 After
 Before
 After
How Repair Fits into the Maintenance Cycle
Repair isn’t a separate event from maintenance; it’s the output of maintenance. Every inspection either finds an issue or confirms one doesn’t exist. When it finds one, the fix should happen before the failure compounds.
The repairs that come up most
- Failed joints. The most common repair. Loose or peeling connections at takeoffs, plenum connections, and register boots. Re-sealing properly requires cleaning the joint surface first.
- Crushed or kinked flex runs. Often caused by storage in the attic, a remodel, or a run that was installed tight. Crushed runs cut airflow to the room they serve.
- Torn interior liner. A gradual failure made faster by summer attic heat. Liner has to be replaced, not patched.
- Failed access panels. Panels that don’t seal properly pull return air from the attic instead of the house. Small gap, big airflow effect.
- Register boot separation. The joint where the boot meets the subfloor. A common leak point that shows up as dust streaks on the ceiling around the register.
We handle duct repair alongside cleaning – same team, same visit – so a joint failure found during the inspection is repaired before it has a chance to go another season. That’s a meaningful difference from companies that only clean and hand off repair work to someone else.
Whole-home air quality equipment
If your system includes IAQ equipment like a Honeywell or Aprilaire component – a whole-home humidifier, media filter cabinet, or fresh air system – the maintenance check should include those parts too. Filters need changing on their own schedule, and the duct joint where the IAQ unit connects is a common source of leaks. Familiarity with these brands matters because the specifications and service points differ from a plain HVAC setup.
Common Mistakes to Avoid
- Treating duct cleaning as a one-time event. A single cleaning doesn’t reset the clock; it sets the baseline. The system will need attention again on the cycle laid out above, and skipping the follow-ups is how a clean system becomes a dirty one.
- Believing clean registers mean a clean system. The grilles are the easiest part to wipe. Look through an accessible panel or ask for interior photos; that’s what actually tells you the state of the system.
- Taping over a dirty joint. Duct tape – even the good stuff – won’t hold on a dusty joint. Tape applied over an uncleaned surface fails in weeks. If you see lifting tape on a joint that was recently “sealed,” that’s what happened.
- Putting off the dryer vent. Odessa homeowners often check the lint trap faithfully but never check the vent run. The lint trap catches a fraction of the lint; the rest accumulates in the duct and at the exterior flap.
- Changing the filter on a fixed date instead of on a condition basis. A filter that’s fine in February can be loaded in three weeks in July. Check the filter; don’t just change it by the calendar.
- Assuming the system is fine because airflow “feels normal.” A gradual loss of airflow is easy to adapt to without noticing. Documenting airflow per room once a year is the only way to catch a slow decline.
- Calling a cleaning-only company when you suspect a repair. If you’ve got visible damage, torn liner, or joint separation, you need a company that can also repair. Otherwise you pay for two visits and two dispatch calls.
When to Call a Professional
Some things you check yourself. Others are a call, full stop. Call a professional if you notice any of the following: a persistent dust film on horizontal surfaces in one room that keeps coming back after cleaning; visible dust streaks around a ceiling register; a room that’s noticeably weaker than the rest even after a filter change; a dryer that takes longer than it used to or feels hot on the exterior (never ignore this one); any musty smell coming from a supply register when the system starts up; or a visible tear in flexible duct liner (leave it alone – fiber release is a real concern). You should also call if you’ve just moved into a home with an unknown maintenance history, or if it’s been more than three years since the system was cleaned.
Duct Cleaning Odessa offers free estimates for duct cleaning and duct repair in Odessa – call (833) 749-5958. We answer 24/7. Fast dispatch from 7am to 7pm, Sunday through Friday. Our technicians have up to 10 years of experience, and we work with professional-grade equipment from Rotobrush, Nikro, Abatement Technologies, Honeywell, Aprilaire and Guardsman. If it’s a duct problem, we can identify it and fix it in the same visit rather than handing you off.
Frequently Asked Questions
Every two to three years for most homes, sooner if you’ve had a renovation, a dust storm event, or a system with visible liner damage. Because Odessa’s attic temperatures get extreme in summer, our recommendation errs toward the shorter end of the range compared to cooler climates. Call (833) 749-5958 for an exact assessment based on your system and its history.
Cleaning removes debris from inside the ducts; repair fixes physical failures like loose joints, crushed runs, or torn liner. They’re different tasks but they go together – you can’t repair a joint properly without cleaning it first, and a cleaning without repair leaves leaks in place. We do both in the same visit so the system is left in working condition, not just cleaner.
The most common signs are dust streaks around registers, weak airflow in one room that doesn’t improve with a filter change, visible peeling tape at joints, and a system that feels like it’s working harder than it used to. A professional inspection with photos confirms it. Call (833) 749-5958 and we can take a look and give you a written estimate before any work starts.
Yes – and you should. Visual checks through accessible panels, register clearing, filter swaps and airflow notes per room are all homeowner tasks. What you shouldn’t do is tape over joints, pull on flex duct, or try to clean the interior yourself. Those tasks need proper containment and equipment, and a DIY attempt can make things worse. For anything beyond looking, call (833) 749-5958.
Both systems handle air and both accumulate debris over similar timelines. The difference is that dryer vent lint accumulation is a leading cause of house fires, so the stakes are higher. Cleaning and inspecting them together is more efficient than two separate service calls. Call (833) 749-5958 to schedule both together.
Before-and-after photos of the duct interior, a written summary of findings (joint condition, liner condition, anything that needs repair), and a clear answer on whether the dryer vent needs service. If you don’t get those, the job isn’t complete. That’s the standard we hold ourselves to – call (833) 749-5958 for a free estimate and we’ll walk you through exactly what a visit includes.
The Bottom Line
Duct maintenance in Odessa isn’t one annual appointment – it’s four small checkpoints tied to the seasonal transitions, plus a full cleaning every two to three years, plus repair handled as soon as the inspection finds something. The homeowner’s job is filters, registers, airflow notes and visual checks. The professional’s job is interior cleaning, pressure and joint work, liner repair, and a written finding you can keep in a file. Document your baseline. Watch your dryer vent. Insist on before-and-after photos. If the system is doing something you can’t explain – a weak room, a persistent dust film, a hot dryer – that’s the call. For Odessa homeowners and property managers, professional air duct cleaning plus dryer vent and repair work on the same visit keeps the whole system on one schedule, which is simpler and more honest than three separate calls.
Ready to get a maintenance baseline set on your system? Call (833) 749-5958 for a free estimate. We answer 24/7. Fast dispatch from 7am to 7pm, Sunday through Friday. We bring professional-grade equipment – Rotobrush, Nikro, Abatement Technologies – and if a duct needs repair, we can handle it in the same visit.
Written by the team at Duct Cleaning Odessa.